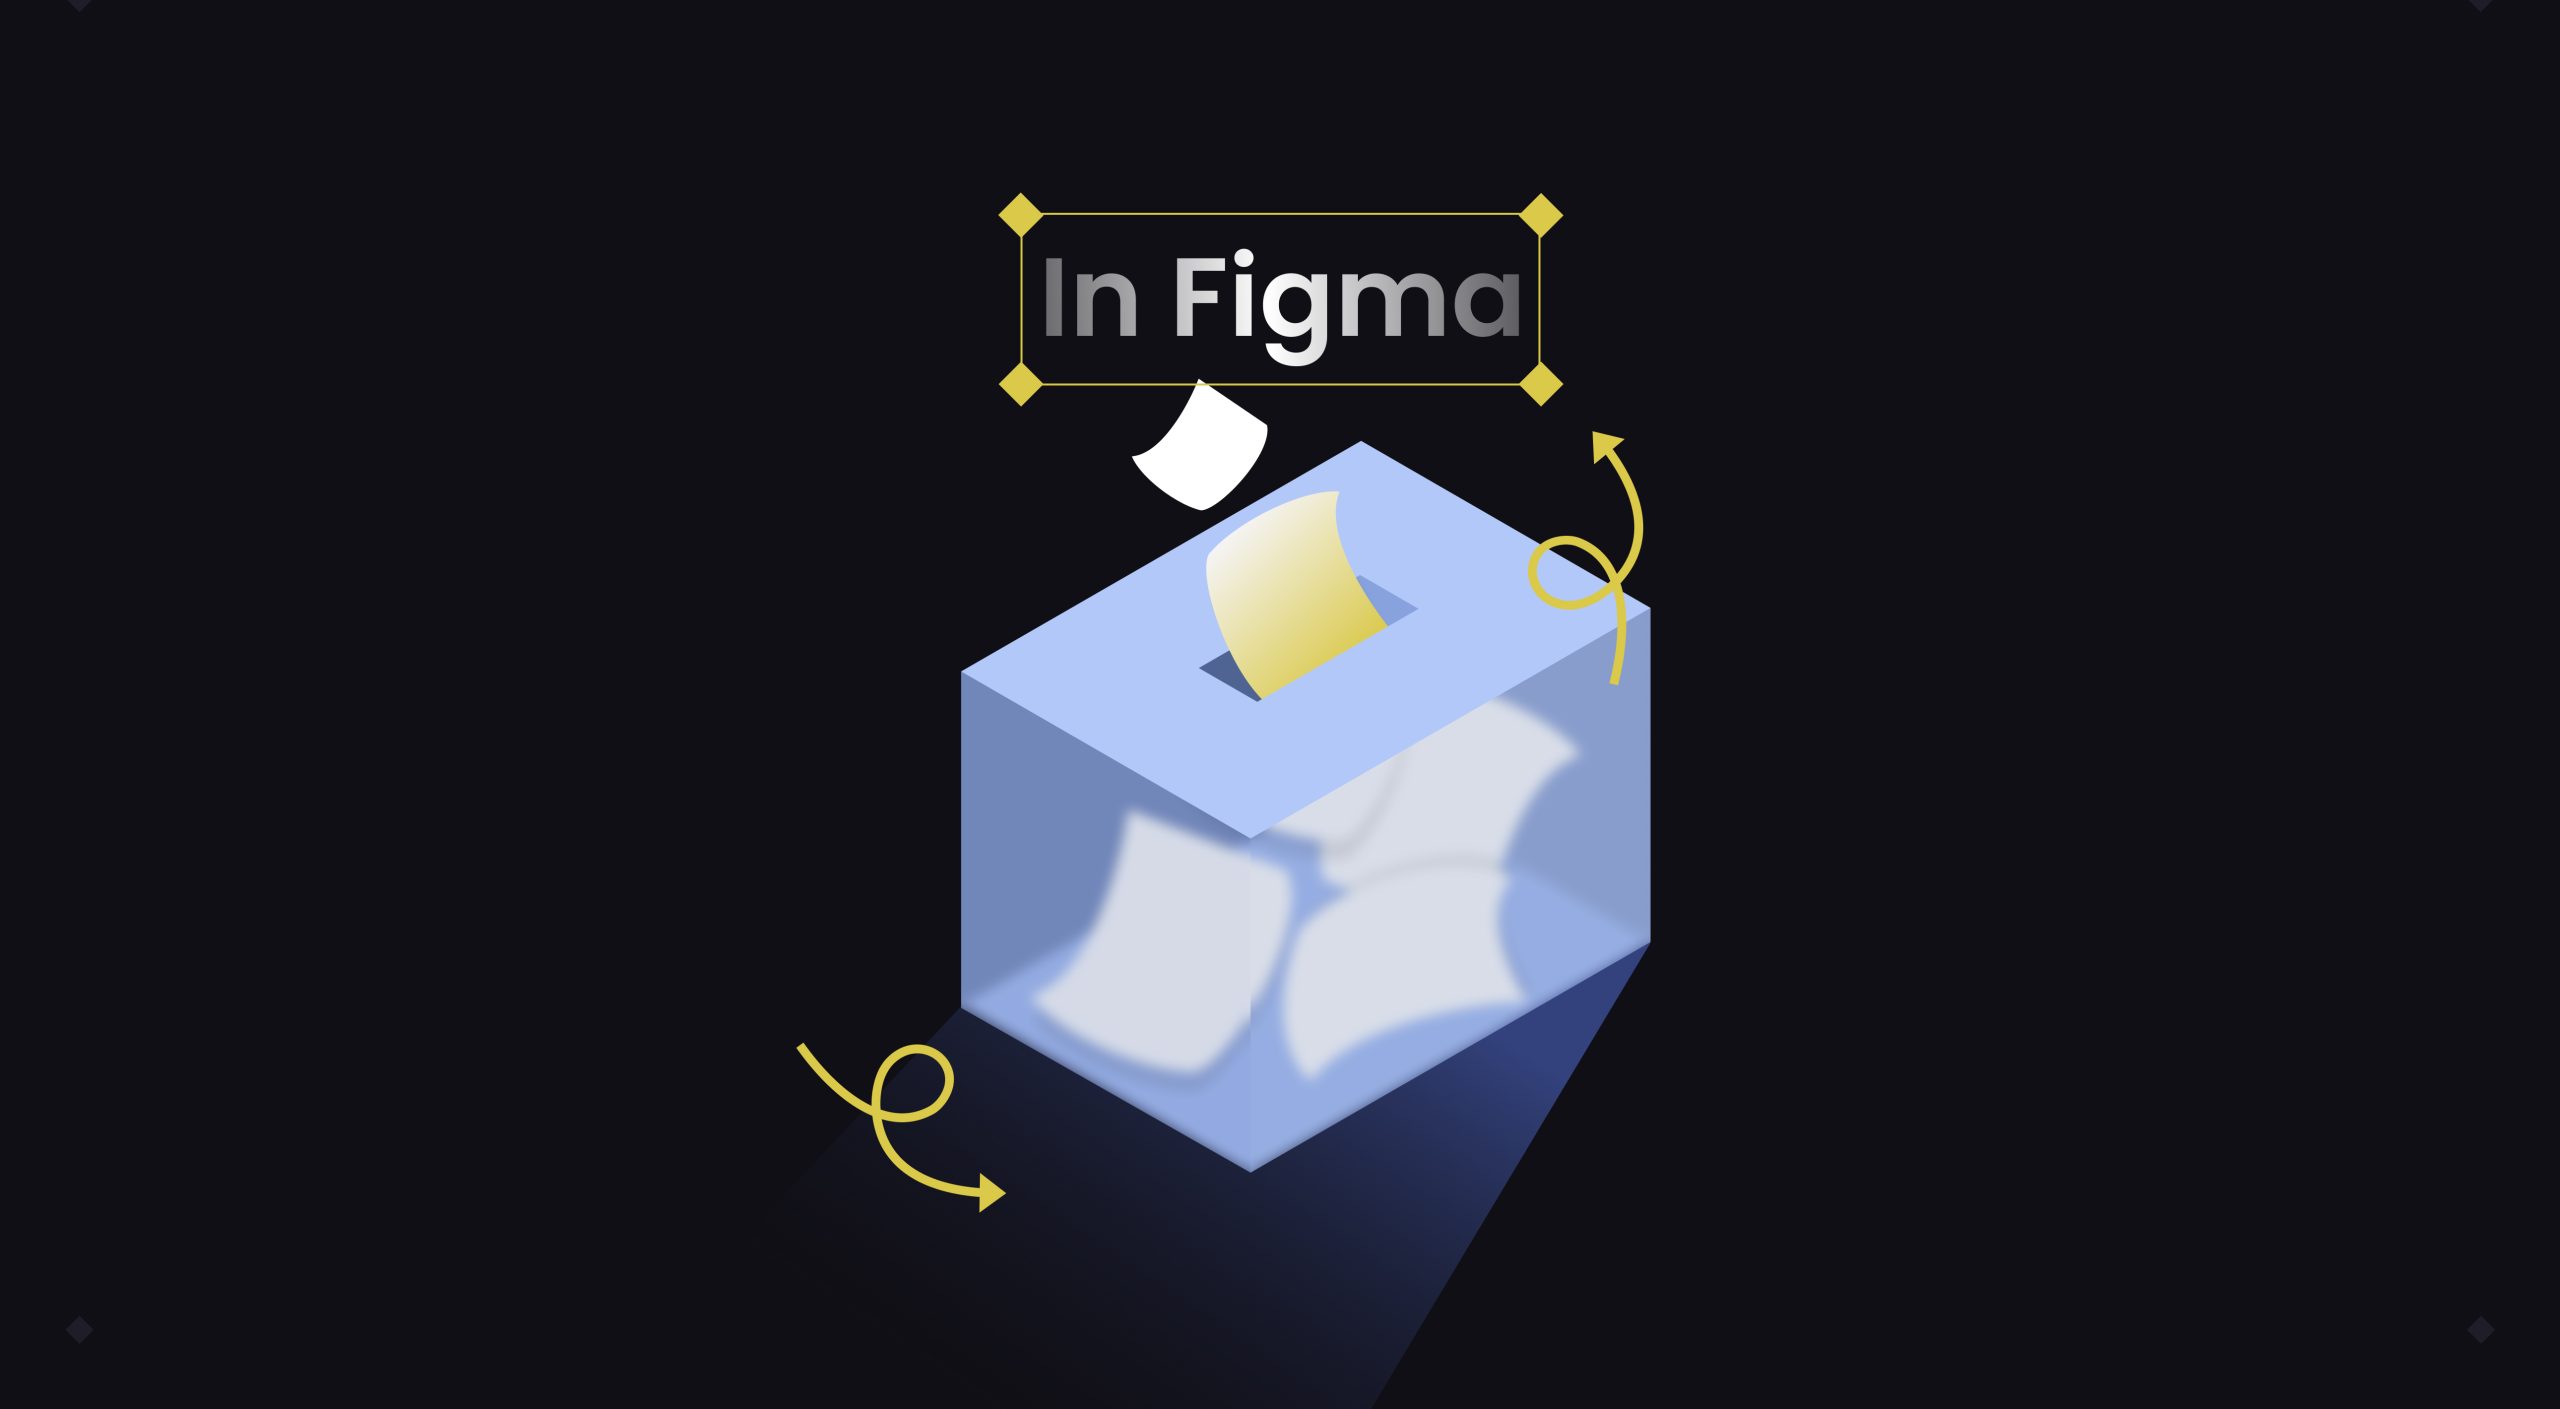
Figma isn’t just for flat UI — you can also create awesome 3D-looking shapes with simple tricks and the right plugin. In this short tutorial, I’ll show you how to design a 3D box using rectangles, a plugin, and a bit of styling magic.
Step-by-Step Guide
Step 1: Draw Rectangles
Start by creating six rectangles. These will make up each side of your 3D shape.
Step 2 – Use the ‘Easometric’ Plugin
Go to the Figma Community and search for Easometric. Apply it to each rectangle to add perspective.
Step 3 – Set the Perspective
Adjust the angles for each side using the plugin’s settings. Rotate and flip as needed to fit your desired 3D layout.
Step 4 – Combine the Sides
Add depth with shadows, gradients, or blurs. Use light and dark tones to enhance the 3D effect.
Step 5 – Style It
Arrange your rectangles to form a cube or box. Make sure the edges align properly so it looks seamless.
Step 6 – Done!
Your 3D object is ready. Use it in your UI designs, illustrations, or concept visuals.
Closing note
This is a simple but powerful trick that adds visual depth to your design without needing 3D software. Try it out, remix it, and have fun with Figma.


👏🏽👏🏽👏🏽